The Geofences page is designed to help you create, edit, and manage geofences efficiently. The page is divided into two main sections: the Map and the Geofence Panel. Below is a detailed guide on how to use this feature.
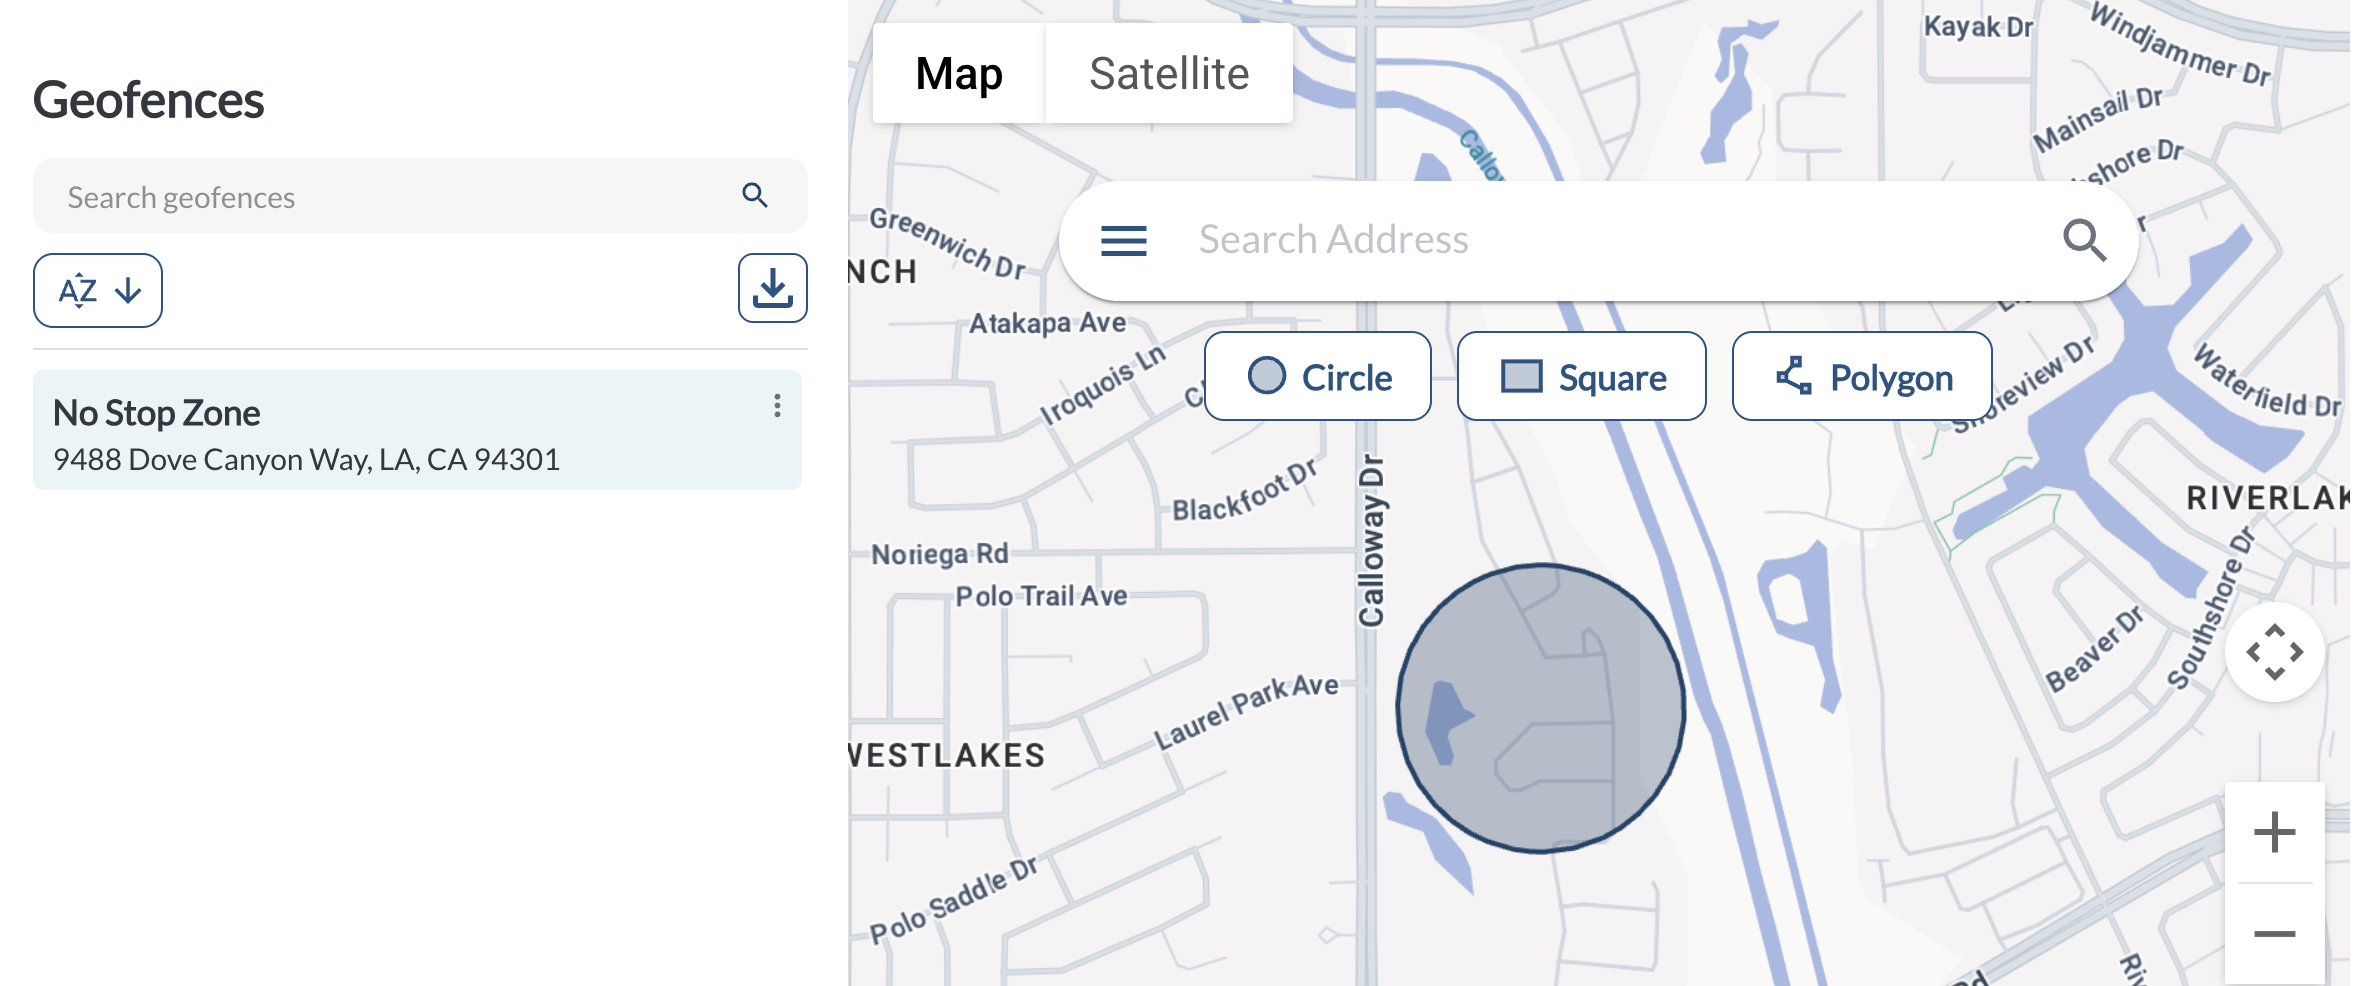
Geofence Panel
The Geofence Panel provides an organized list of all existing geofences and tools to manage them effectively:
Map Section
The Map Section is where you create geofences. You can choose from three geofence shapes and interact with the map to define their boundaries.
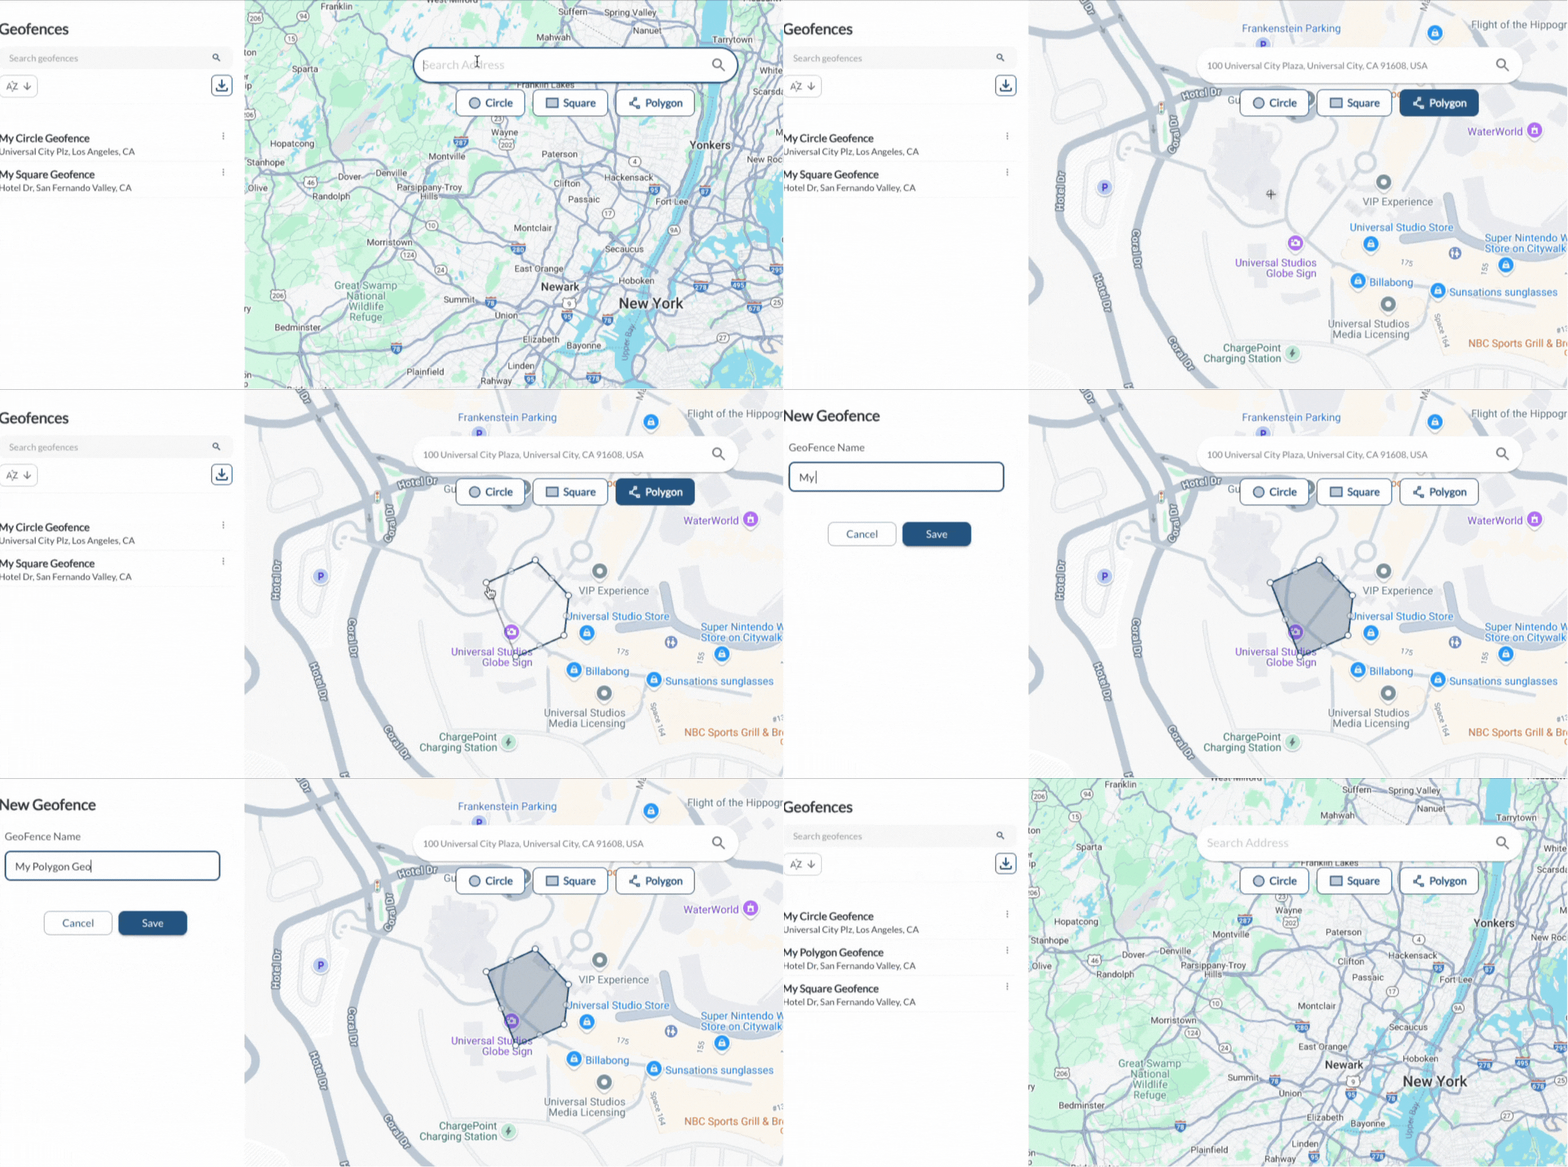
1. Select a Shape
Choose one of the following geofence shapes:
2. Set the Location
Adjust the map's zoom level to locate your desired area, or use the search bar to find a specific address.
3. Draw the Geofence
Use the map tools to define your geofence boundaries.
4. Saving and Naming a Geofence
Once the geofence is drawn, the Edit Geofence dialog will appear. Enter a name, optionally assign tags, and click Save to finalize.
Adding Geofences in Bulk
The bulk upload feature allows you to add multiple geofences to the Fleet Portal at once using a CSV template, saving time when setting up large numbers of locations.
How to Upload Geofences in Bulk
- Navigate to the Geofences page in the Fleet Portal.
- Click the Upload CSV button.
- Fill in the template with your geofence details.
- Upload the completed file and click Submit.
Template Fields
| Field |
Description |
| Name |
The name of the geofence |
| Address |
The address of the geofence location |
| Type |
The shape type of the geofence (e.g., circle, polygon) |
| Radius |
The radius of the geofence in meters (applicable for circle type) |
| Coordinates |
The GPS coordinates that define the geofence boundaries |
| Tags |
The tags to assign to the geofence, separated by commas (optional) |
Note
Always use the provided template when uploading geofences in bulk. Uploading
a file with missing or incorrectly formatted columns may cause the upload
to fail.